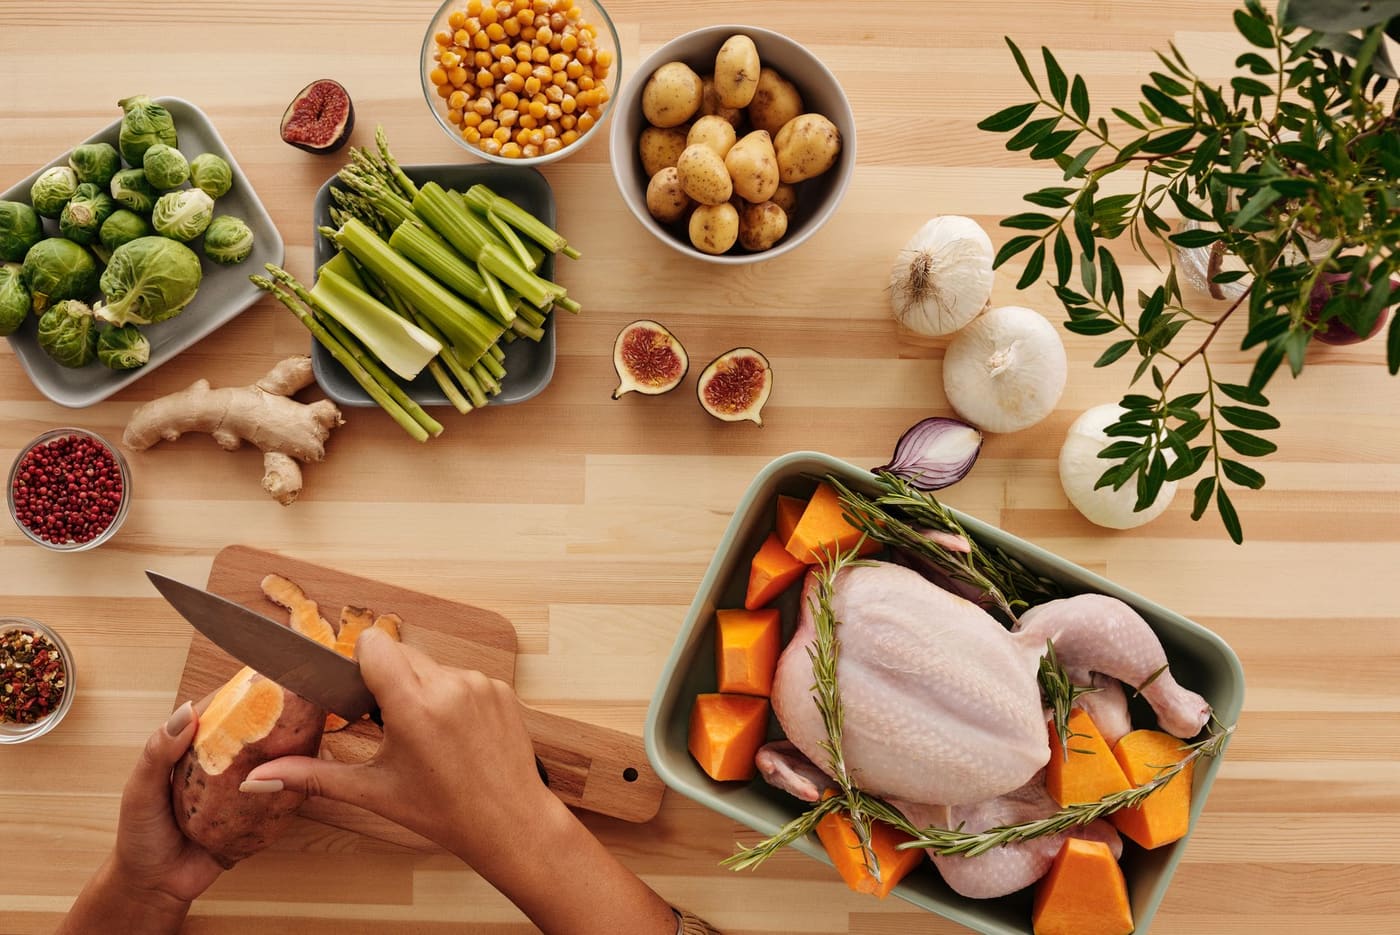
Start with five methods: boiling and simmering, sauteing, pan-searing, roasting, and baking. Nearly every beginner recipe is built from one or two of them, and each one comes down to a single question: how hot is the heat, and is the food wet or dry? Once you can answer that, you can read a recipe and know what is supposed to happen to the food, not just which steps to follow.
This guide covers each method, what it is for, the temperatures and times that matter, and the mistakes that cause most first-time failures.
Why methods matter more than recipes
A recipe is one dish. A method is a reusable pattern. If you understand roasting, then roasted broccoli, roasted chicken thighs, and roasted sweet potatoes are the same skill with different timings. That is why learning five methods gets you further than collecting fifty recipes.
Most methods split into two families:
- Moist heat (boiling, simmering, steaming, braising): food cooks in water, stock, or steam. The temperature tops out at 212°F (100°C), so nothing browns. These methods are forgiving and good for pasta, rice, eggs, beans, and tough cuts of meat.
- Dry heat (sauteing, searing, roasting, baking): food cooks in fat or hot air at much higher temperatures. This is where browning and most of the flavor come from.
Browning is the Maillard reaction, a set of chemical changes between proteins and sugars that starts around 300°F (150°C). It makes a seared steak taste different from a boiled one. Water keeps food at or below 212°F, so wet food will not brown until the surface dries out. That single fact explains many beginner problems, like pale chicken or soggy mushrooms.
Boiling and simmering
Boiling means large, rolling bubbles at 212°F (100°C). Simmering means small, gentle bubbles breaking the surface every second or two, roughly 185 to 205°F (85 to 96°C).
Use a rolling boil for pasta, blanching vegetables, and hard-boiled eggs. Use a simmer for soups, stews, sauces, beans, and grains, because a hard boil toughens meat, breaks up beans, and makes sauces cloudy or scorched.
Pasta in a real pot
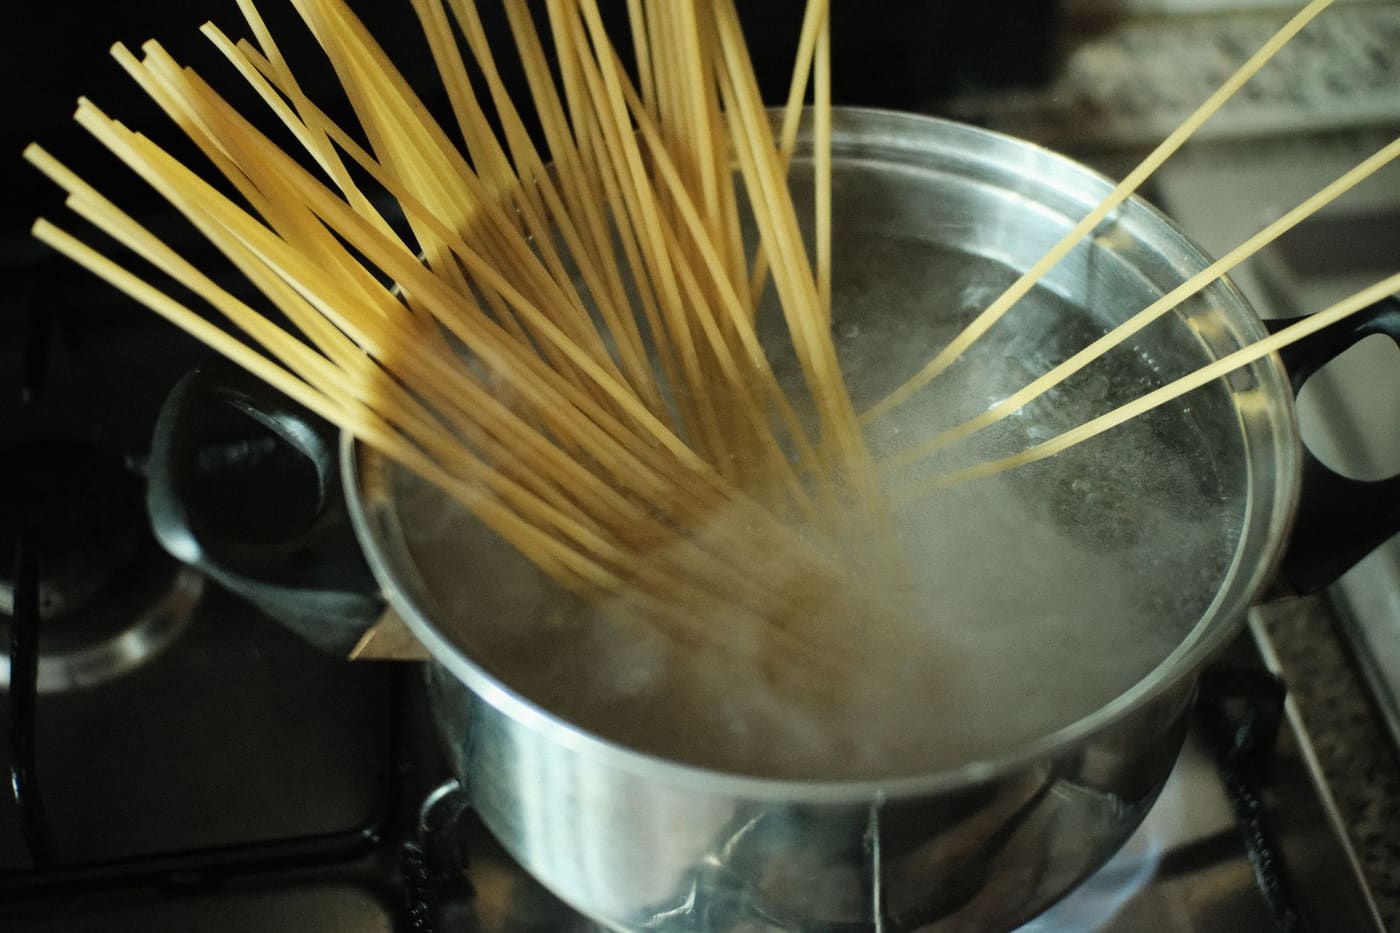
Use a pot of at least 4 to 6 quarts for one pound of pasta, with about 4 quarts of water and 1 to 2 tablespoons of kosher salt. Wait for a full boil before adding the pasta, stir in the first minute so it does not stick, and start tasting 2 minutes before the package time. Save a cup of the cooking water before draining. A splash helps a sauce cling to the noodles.
Hard-boiled eggs
Lower eggs into boiling water, then turn the heat down to a steady simmer. Cook 9 to 10 minutes for firm yolks, then move them to ice water for 5 minutes so they peel more easily.
Sauteing
Sauteing is cooking small, evenly cut pieces in a thin layer of fat over medium-high heat while moving them around. It is the base of onions, peppers, mushrooms, greens, and quick weeknight stir-fries.
What you need is a 12-inch skillet, either stainless steel or cast iron, and a pan that is large enough. Crowding is the main mistake. When too much food sits in the pan, it releases steam faster than it can evaporate, and you end up simmering instead of browning. If your food is pooling liquid, cook it in two batches.
A few habits make sauteing reliable:
- Cut everything to a similar size so it finishes together.
- Heat the pan for 1 to 2 minutes first, then add 1 to 2 tablespoons of oil. Oil should shimmer but not smoke.
- Add food once it sizzles on contact.
- Stir often for small pieces, or let larger pieces sit for a minute to color before turning.
Garlic is the exception. It burns in under a minute, so add it for the last 30 to 60 seconds. Before you start, do your mise en place, which just means having everything chopped and measured. Sauteing moves quickly, and you do not want to be mincing while the onions burn.
Pan-searing
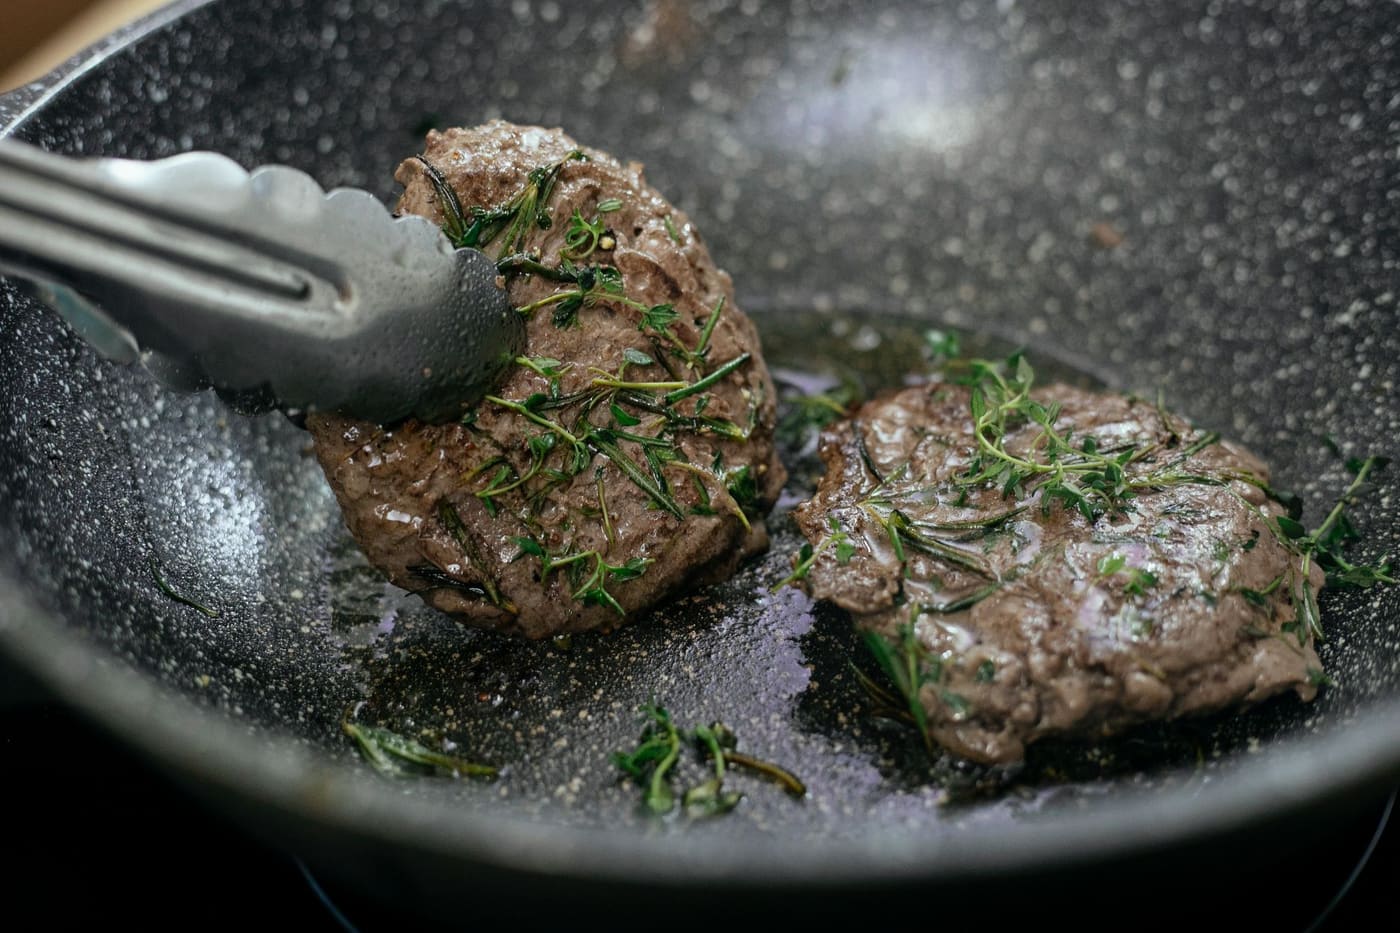
Searing is sauteing’s higher-heat cousin, used for steaks, pork chops, chicken thighs, salmon fillets, and scallops. The goal is a deep brown crust from the Maillard reaction.
How to get a good crust
- Dry the surface. Pat meat with paper towels. Moisture on the surface has to boil off before browning starts.
- Salt ahead. Salting 40 minutes to a few hours before cooking, or right before, both work. If you salt ahead, pat the surface dry again before it goes in the pan.
- Preheat properly. Cast iron or stainless steel should heat 3 to 5 minutes over medium-high. Use oil with a high smoke point, like avocado, canola, or refined vegetable oil. Butter alone burns at these temperatures.
- Leave it alone. Place the food down and do not move it for 3 to 4 minutes. It releases from the pan when the crust has formed.
The browned bits stuck to the pan are called fond, and they are worth keeping. Pour off excess fat, add a splash of wine, stock, or water, and scrape the pan while it bubbles. That is deglazing, and it turns the leftovers into a pan sauce in about 2 minutes. Finish with a tablespoon of cold butter if you like.
Use an instant-read thermometer instead of cutting into the meat. The US government’s safe minimums are 165°F (74°C) for poultry, 160°F (71°C) for ground meat, and 145°F (63°C) for whole cuts of beef, pork, veal, and lamb, followed by a 3-minute rest. If you are choosing equipment, our guide to kitchen tools that are actually worth buying puts the thermometer near the top.
Roasting
Roasting is cooking uncovered in an oven, usually at 400 to 450°F (205 to 230°C) for vegetables and parts of chicken, and lower for large cuts. It is the most hands-off method, which makes it the best one for a beginner who wants good results with little attention.
A standard sheet-pan setup:
- Heat the oven to 425°F (220°C) with the rack in the middle.
- Toss 1 to 1.5 pounds of cut vegetables with 1 to 2 tablespoons of oil and 1/2 teaspoon of salt.
- Spread them on a rimmed half-sheet pan (about 18 by 13 inches) in a single layer with space between pieces.
- Roast 20 to 35 minutes, turning once.
Typical timings at 425°F: broccoli or cauliflower florets 20 to 25 minutes, 1-inch potato chunks 30 to 40 minutes, carrots 25 to 35 minutes. Bone-in chicken thighs take roughly 35 to 45 minutes and are done at 165°F (74°C), though many cooks prefer them closer to 175°F (79°C) for better texture because dark meat holds up to the extra heat.
The same crowding rule applies here. Use two pans before you pile everything on one.
Baking
Baking is also oven cooking, but the word usually refers to foods that start soft or liquid and set, like cakes, muffins, casseroles, quick breads, and cookies. Roasting aims for browning and baking aims for structure, so accuracy matters more.
Three things trip up beginners:
- Oven temperature can be off. An inexpensive oven thermometer tells you whether 350°F (175°C) on the dial is really 350°F. Home ovens can run 25°F or more away from the dial setting.
- Measuring. Spoon flour into the measuring cup and level it. Scooping packs it in and can make baked goods dry. A kitchen scale removes the problem.
- Opening the door. Every peek drops the oven temperature, especially in the first two-thirds of the bake.
Comparing the core methods
| Method | Heat level | Typical temperature | Best for |
|---|---|---|---|
| Boiling | High, wet | 212°F (100°C) | Pasta, eggs, blanching |
| Simmering | Low, wet | 185 to 205°F (85 to 96°C) | Soups, sauces, beans, rice |
| Sauteing | Medium-high, dry | Pan about 350 to 400°F (175 to 205°C) | Vegetables, small cuts |
| Searing | High, dry | Pan 400°F (205°C) or more | Steaks, chops, fish |
| Roasting | Oven, dry | 400 to 450°F (205 to 230°C) | Vegetables, chicken pieces |
| Baking | Oven, dry | 325 to 375°F (165 to 190°C) | Casseroles, breads, cakes |
Use your senses alongside the timer
Recipe times assume a certain stove, pan, and ingredient size, and yours will differ. Learn the signals as well:
- Sound: a steady sizzle means the pan is working. Silence means it is too cool, and loud popping with smoke means too hot.
- Sight: golden-brown edges on vegetables, and opaque flesh on fish. For poultry and ground meat, do not rely on color or clear juices; use a thermometer.
- Touch and resistance: pasta should have a slight bite, and a knife should slide into roasted potatoes without force.
- Smell: toasted and nutty is good. Sharp and acrid means you have gone too far.
If a finished dish tastes flat despite doing everything right, the problem is probably seasoning, not method. See why food can taste bland even when you season it for the usual fixes, such as salt timing and acid.
How to practice without overthinking it
Pick one method per week and cook one simple dish with it three times. A reasonable order is:
- Week 1, boiling and simmering: pasta with jarred sauce, then rice, then a pot of soup.
- Week 2, sauteing: onions and peppers, then a vegetable stir-fry.
- Week 3, roasting: sheet-pan vegetables, then chicken thighs.
- Week 4, searing: chicken thighs or a pork chop with a pan sauce.
Repeating a dish teaches you more than a new recipe each night. You will notice what changed and why, which is how you improve. If you want a list of dishes that use these methods with little effort, try these easy meals that do not take much work, or read how to get better at cooking without turning it into a project.
Food safety is the last basic. Refrigerate leftovers within 2 hours of cooking and eat them within 3 to 4 days. Reheat to 165°F (74°C).
For the minimum safe temperatures and storage times, see the safe temperature and storage guide.
Where this comes from
Safe cooking temperatures, rest time, and leftover handling follow the US government’s FoodSafety.gov safe minimum temperature chart and USDA leftover guidance. The method descriptions, timings, and oven temperatures are standard home-cooking practice, so treat them as starting points and adjust for your stove, pan, and oven.